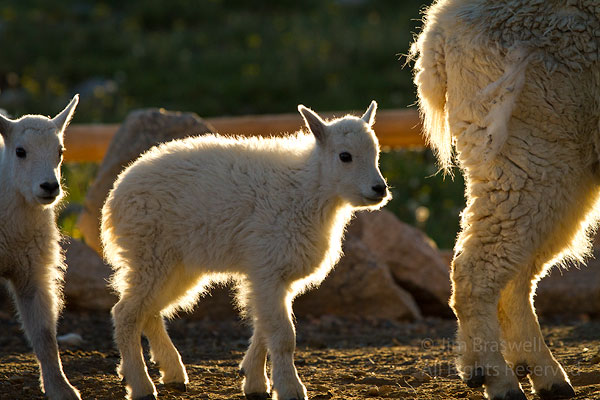
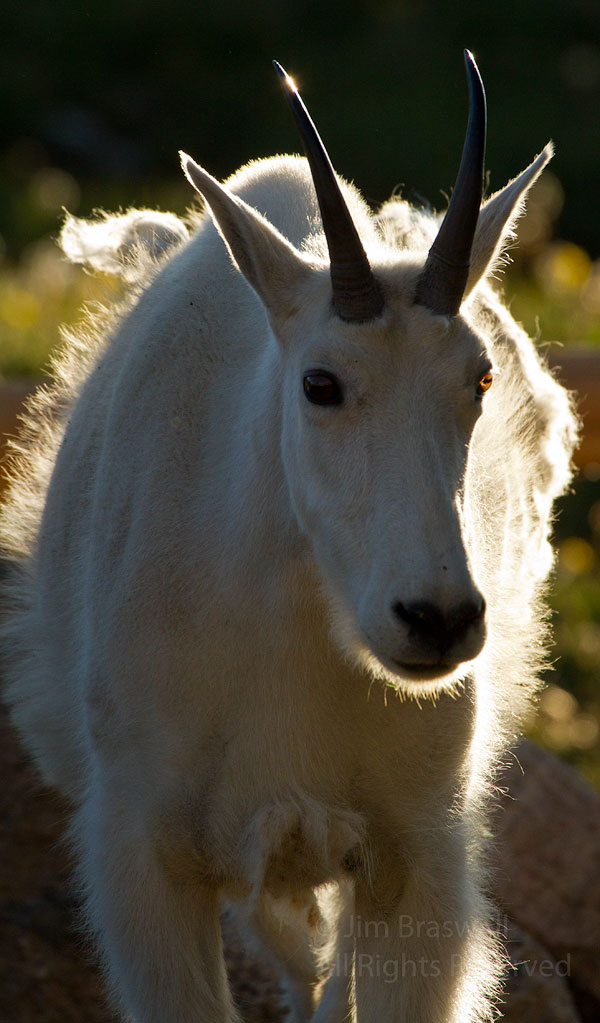
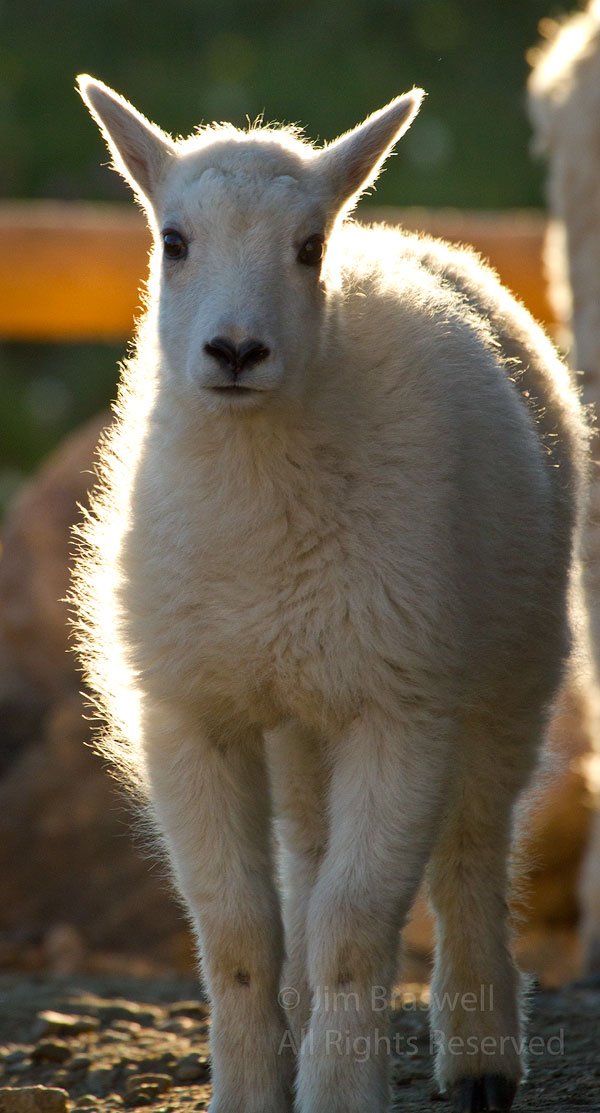
One of the first mornings of camping at Echo Lake, I headed up the highway to Mount Evans at just around sunrise (I wanted to go up earlier, but I also wanted some light before hitting the narrow and winding areas!). Upon making a stop at Summit Lake, I had my first encounter with the Mountain Goats (Oreamnos americanus). Pulling into the parking lot (I was only the third vehicle there), I was pleasantly surprised to find a small group of ewes and their newborn kids, along with a few yearlings, foraging around the parking lot and the area along the fence that winds from the parking lot to the trailhead of Mount Evans trail. While along this fence, I was able to capture a few images of the goat families, while the early morning sunlight was backlighting them. Making images of backlit subjects can be tricky and frustrating, but let me assure you that it can be done (I’ll list some techniques I use to make backlit-subject images, at the end of this post). Here are a few backlit images I made on that first morning at Summit Lake:
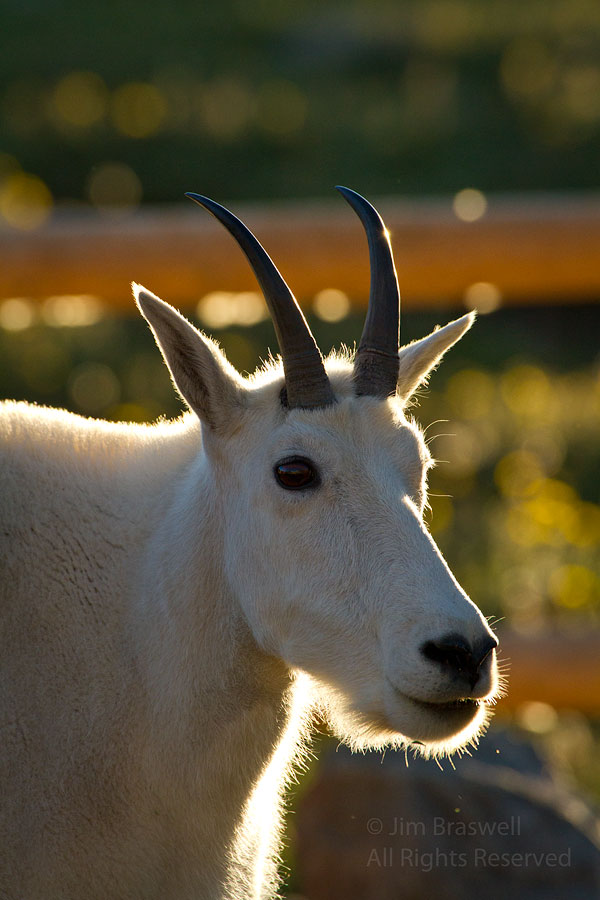
From the above 3 examples, we can see how the backlighting really brings out the hair/fur of an animal. Backlighting around the perimeter of the animal like these examples, is called “rim lighting” and works well when the subject has a lot of hair or fur. And, remembering the basic photography element that the human eye tends to look to the bright areas of a photograph, you can see why shooting backlit subjects can really enhance the subject. However, one of the issue that we sometimes encounter when shooting backlit subjects is one where there are “flare spots” around the photo, such as this next image exhibits:
Some people don’t mind these flare spots … myself, I don’t like them. I will try my darndest to avoid getting them, but if I do, I will usually try to remove them via Photoshop. So, how can you avoid getting these flare spots? One of the things I like to do is to try shooting at different angles; this will usually allow me to get some images that will not have these tiny distractions. It is also worthwhile to try to take a bit more time making the image (yeh, with wildlife this is not always possible). Scan the viewfinder of your camera and check for any distracting light spots. And make a quick check to be sure you don’t see any light being reflected off of another object and into the frame. And if you use your camera’s histogram to evaluate the exposure (and if you’re not using the histogram, shame on you!), be aware that the rim lighting will cause some spiking at the far righthand (light tones) side of the histogram, but it should not be excessive (practice and experience will let you know how much overexposure to expect). Take plenty of images, varying these factors … odds are that at least some of the images will be properly exposed and not have the flare spots. Making backlit images can be a bit more tedious to get, but when you get one, it usually is worth the time and patience you used to get it!


