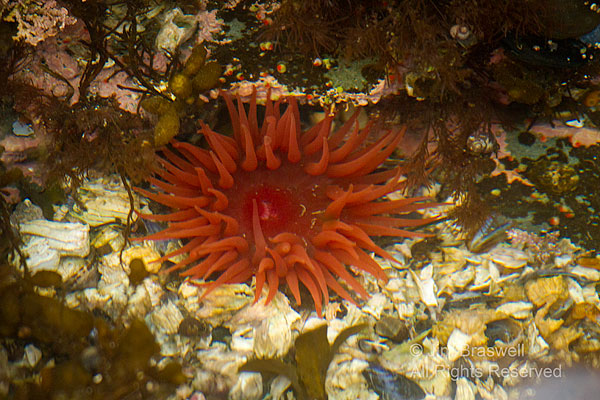
Anemones (pronounced uh NEHM uh nee) … that is the subject of today’s post. Quite colorful little marine (sea) invertebrates, best found at low tides or in rocky coves along the shoreline. While at “A Seaside Adventure”, I took a kayak trip one day and a casual skiff ride another. During our outings, just outside Little Tutka Bay, we stopped at a nearby island and checked out the tide pools between the large rocks that lined the shore. Boy were we in business! We found several different colors and textures of sea anemones. All were positioned in shallow water, approx. 1 foot deep. Here are a few images I made of the “frilly” sea anemones:
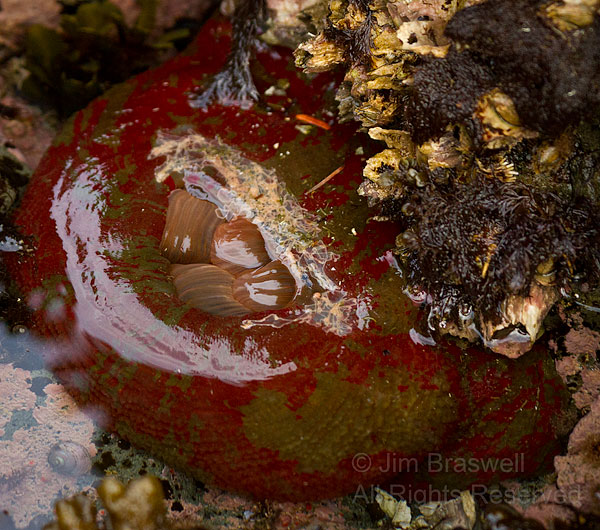
And then we found a couple of “smoothy” anemones. These are the kind I have normally found in the past, particularly in Little Tutka Bay at low tides:
I didn’t know a lot about Sea Anemones … other than they are very brightly colored and quite unique. Doing a quick internet search, I found that Sea Anemones are a group of water-dwelling, predatory animals of the order Actiniaria; they are named after the anemone, a terrestrial flower. Interestingly enough, the last 2 images of the “smooth” anemones don’t seem to fit the definition; if anyone has more information on the anemone that they would like to share, please leave a comment. Also, the information states that the Sea Anemone feeds on small fish and shrimp, using a venom (a mix of toxins, including neurotoxins) which paralyzes the prey and allows it to be moved to the mouth for digestion inside the gastrovascular cavity. Quite colorful, but deadly!
Should you decide to photograph tide pool critters like these anemones, I have a couple of tips. First, I found it useful to use a “buddy system”, especially in direct sunlight. By having your “buddy” stand to block the sun from reflecting off the water, a much more even lighting exists in the water and gives better, color-saturated images. Also, it is important to try to keep the camera lens as perpendicular to the water surface as possible, to both minimize reflections and to keep the depth of field consistent (remember, you are in shallow water, so it is likely you will be shooting very close to the subject). I’m thinking a polarizing filter would be great to assist in both minimizing reflections and in saturating the colors, but I didn’t have one along with me. And even if I did, the large rocks would have made using a tripod in this location extremely difficult (all of the above images were handheld). My last tip … take many images to increase the likelihood that you come home with some nice images!
If you enjoyed this blog post, please feel free to send a link to your friends and other photographers that you think will enjoy it!


